

A cabinet may catch your eye for its timber, its proportions, or the feel of its handle. Look a little closer, and another detail comes into view: the screw holding everything in place.
Small enough to overlook, it can still influence the finish. An exposed screw becomes part of the composition. A concealed one helps secure the hardware we touch every day. Both deserve care.
For this edition of The Hardware Study, Before Closet takes a closer look at the lines, crosses, and stars found on screw heads—and the tools made to fit them.
A small vocabulary of shapes
The recess that receives a screwdriver or bit is called the drive. Its shape is separate from the screw head’s outer form. Two screws can share a drive type while having very different head shapes.
Learning to recognise that small pattern is the first step towards choosing the right tool.
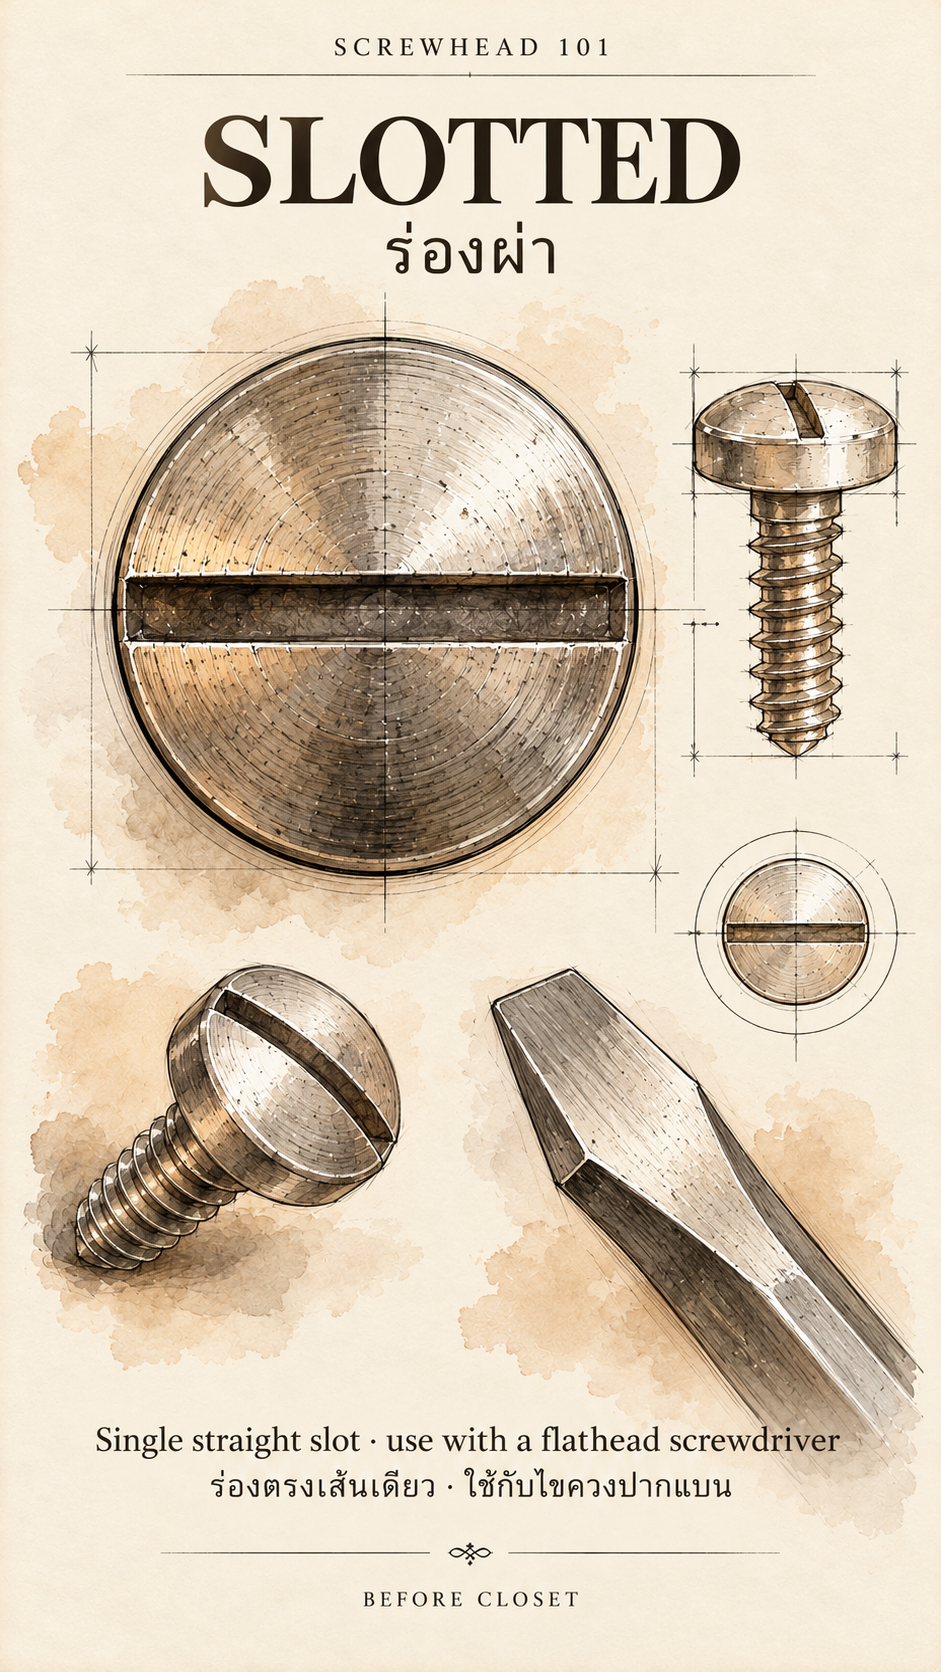
Slotted — a single straight line
One slot across the head gives this profile its simple, familiar appearance. Use a flat-blade screwdriver that fits the slot’s width and thickness; a poorly fitting blade can slip and mark the surrounding finish.
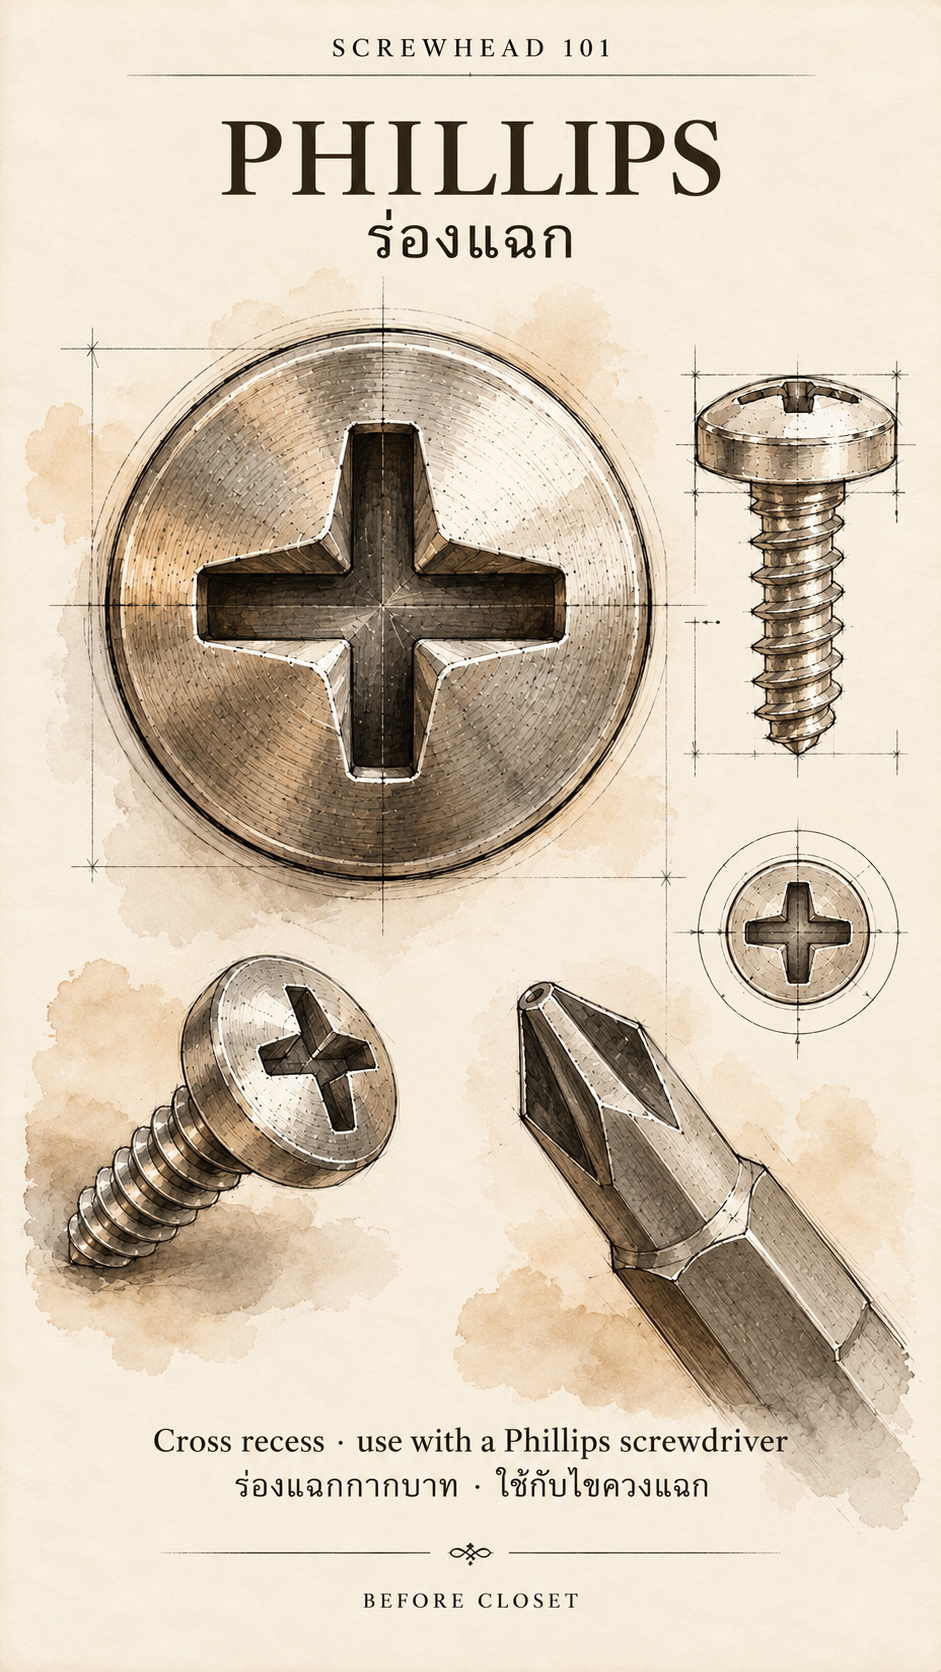
Phillips — the familiar cross
Recognised by its cross-shaped recess, Phillips uses a matching PH screwdriver or bit. Choose the correct size so the tip seats properly before turning.
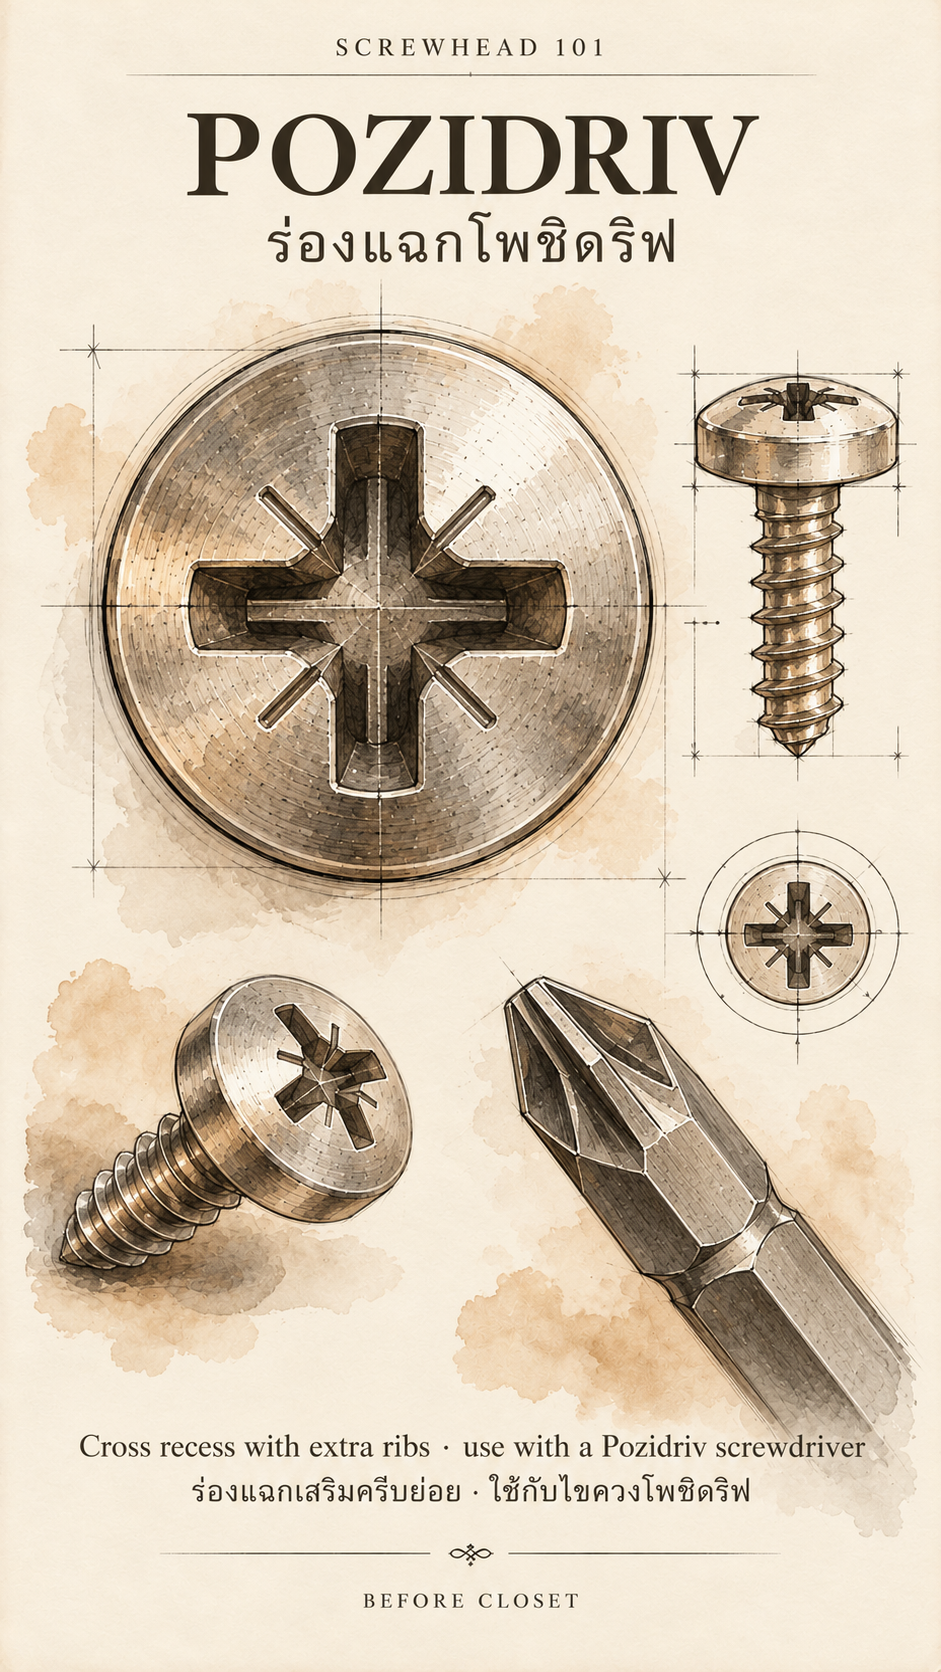
Pozidriv — look between the cross
At first glance, Pozidriv resembles Phillips. Look closer for the additional fine diagonal markings between the main arms. It requires a PZ driver: a similar-looking PH tip does not provide the same fit.
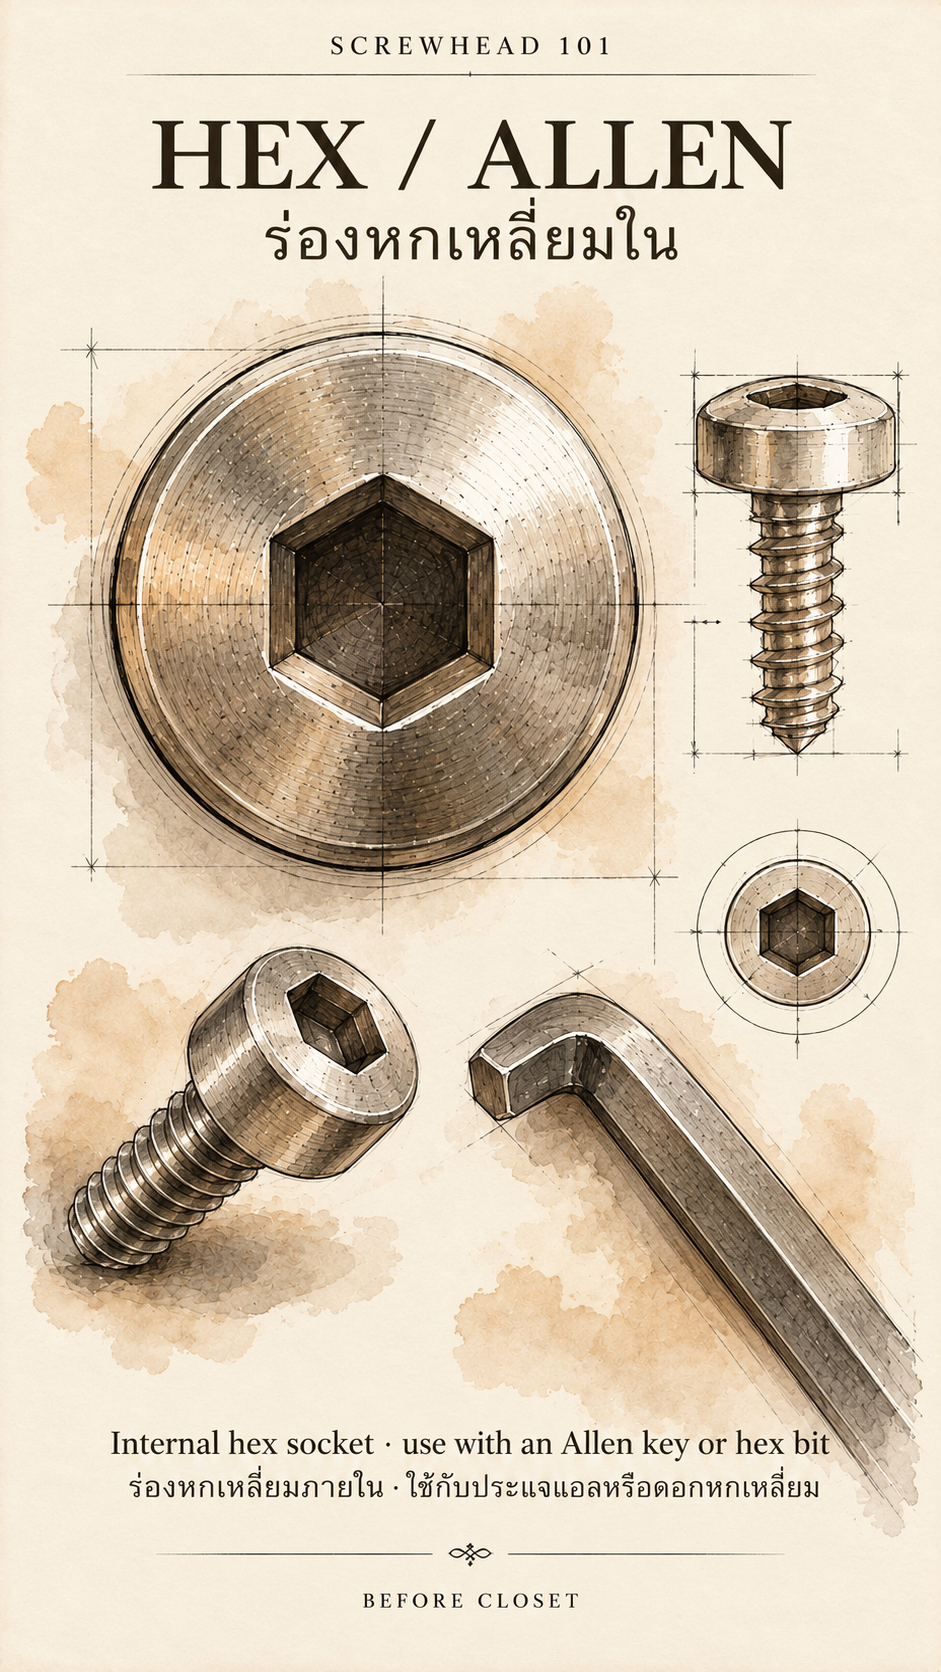
Hex / Allen — six straight sides
An internal hexagonal socket receives an Allen key or hex bit. Match the size precisely; a key that feels almost right can still damage the socket.
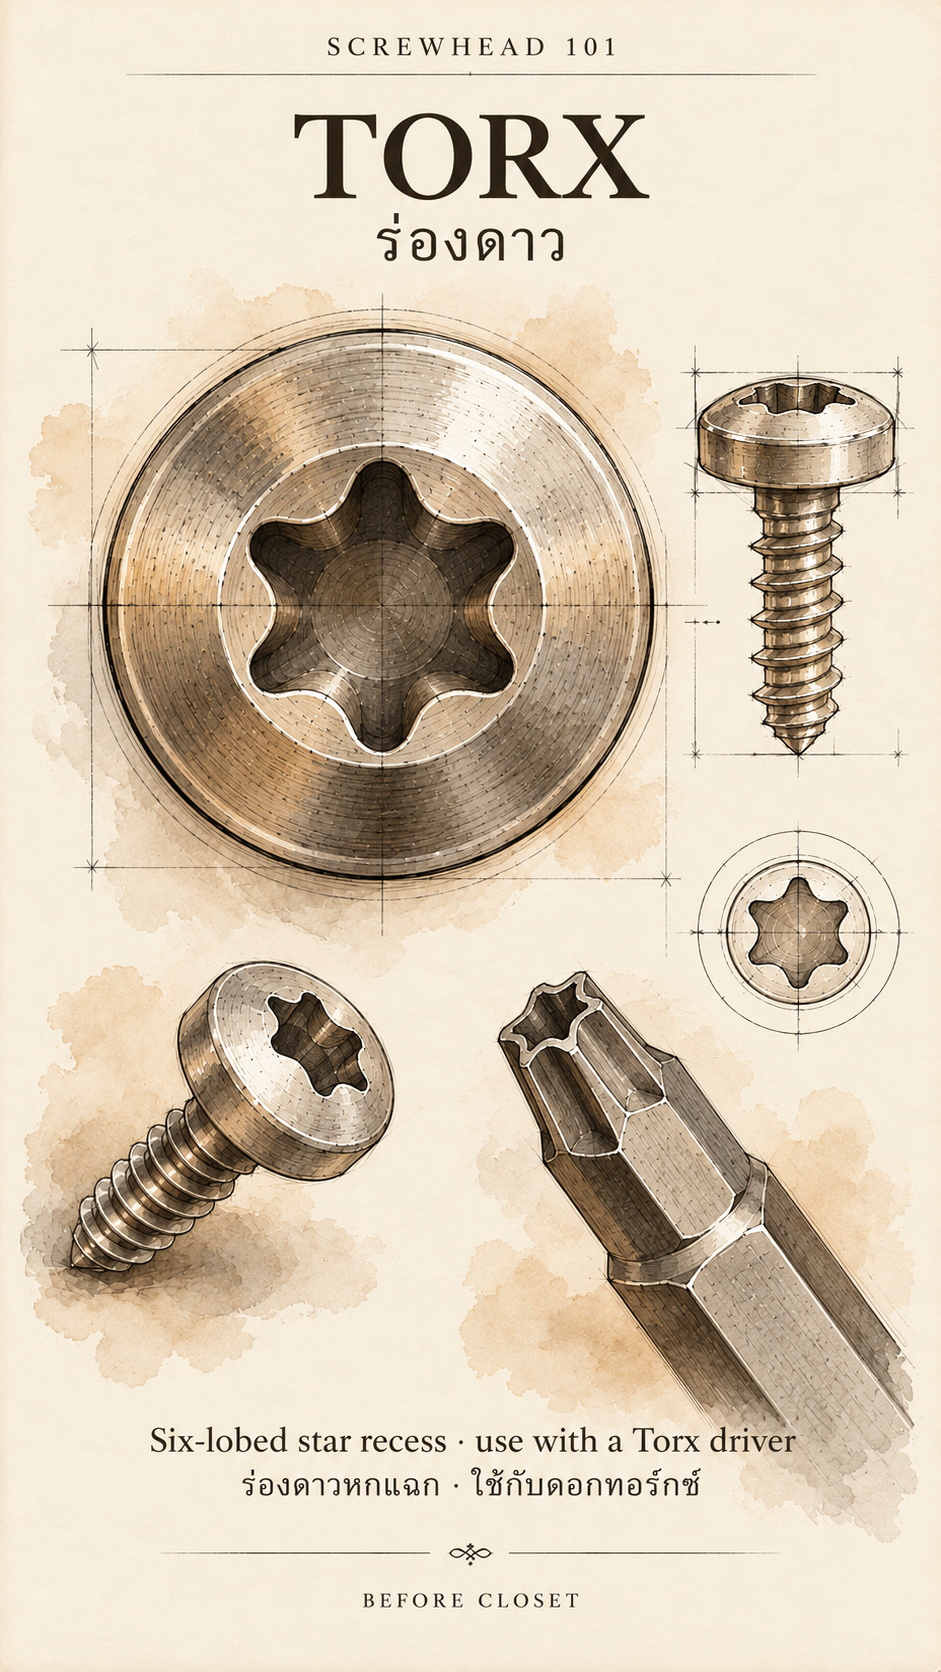
Torx — six rounded lobes
This distinctive star-shaped recess uses a matching Torx driver. Its six-lobed geometry provides effective engagement between tool and screw.
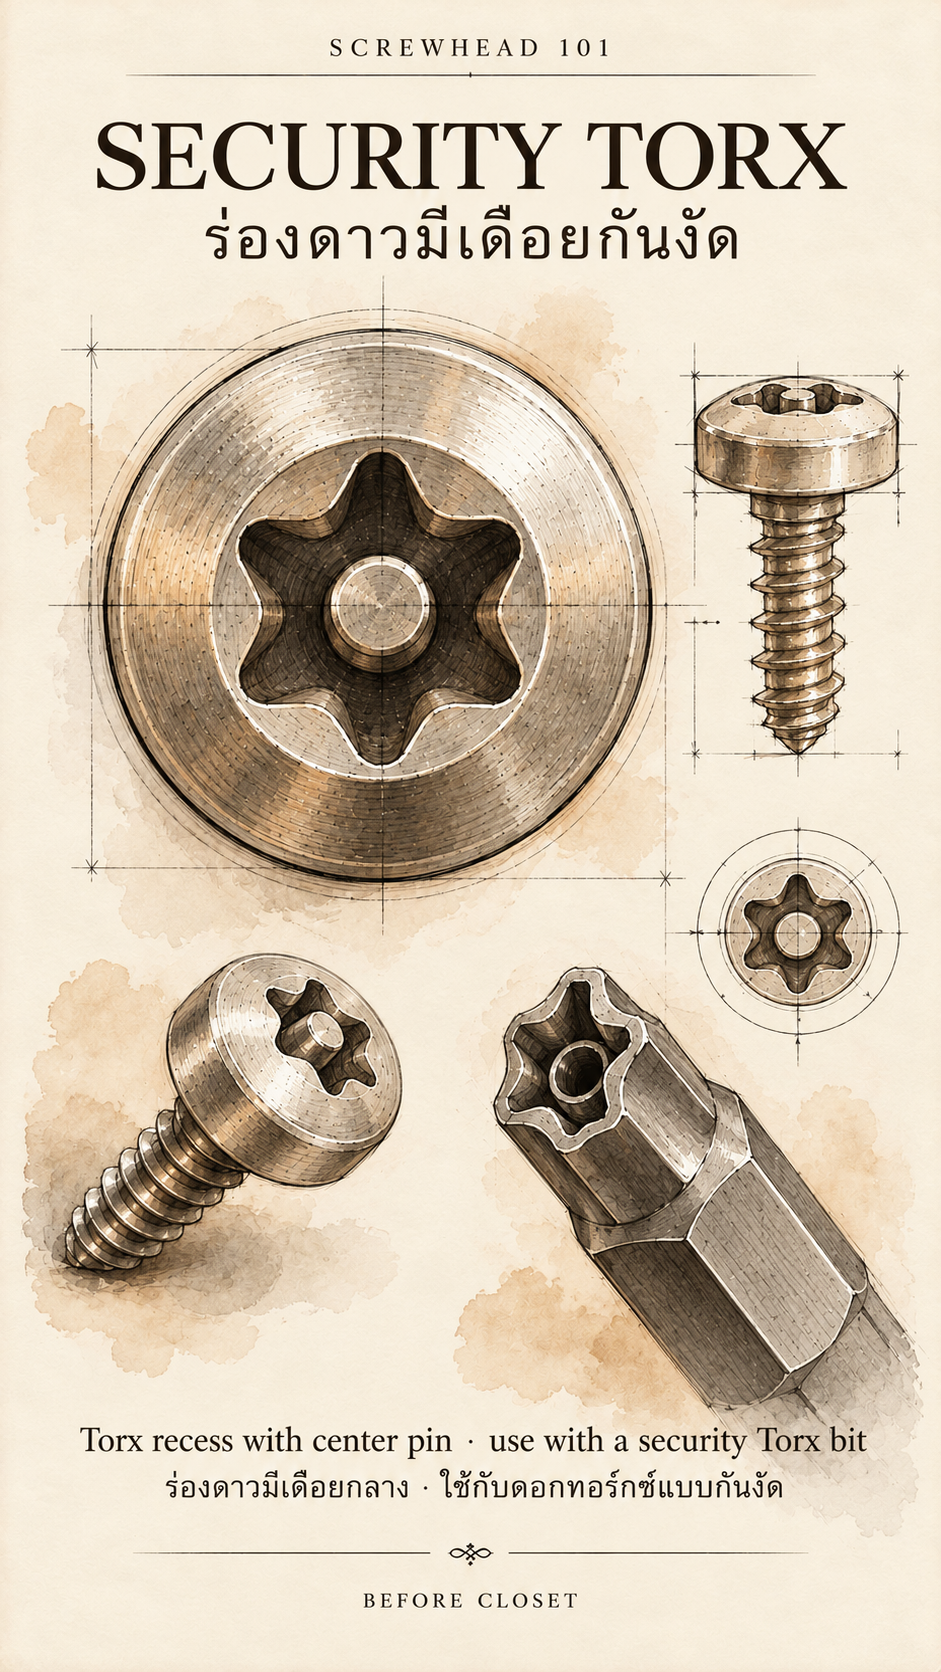
Security Torx — a star with a centre pin
A pin in the middle distinguishes this profile from standard Torx. The matching security bit has a hole to accommodate it, helping discourage removal with ordinary tools.
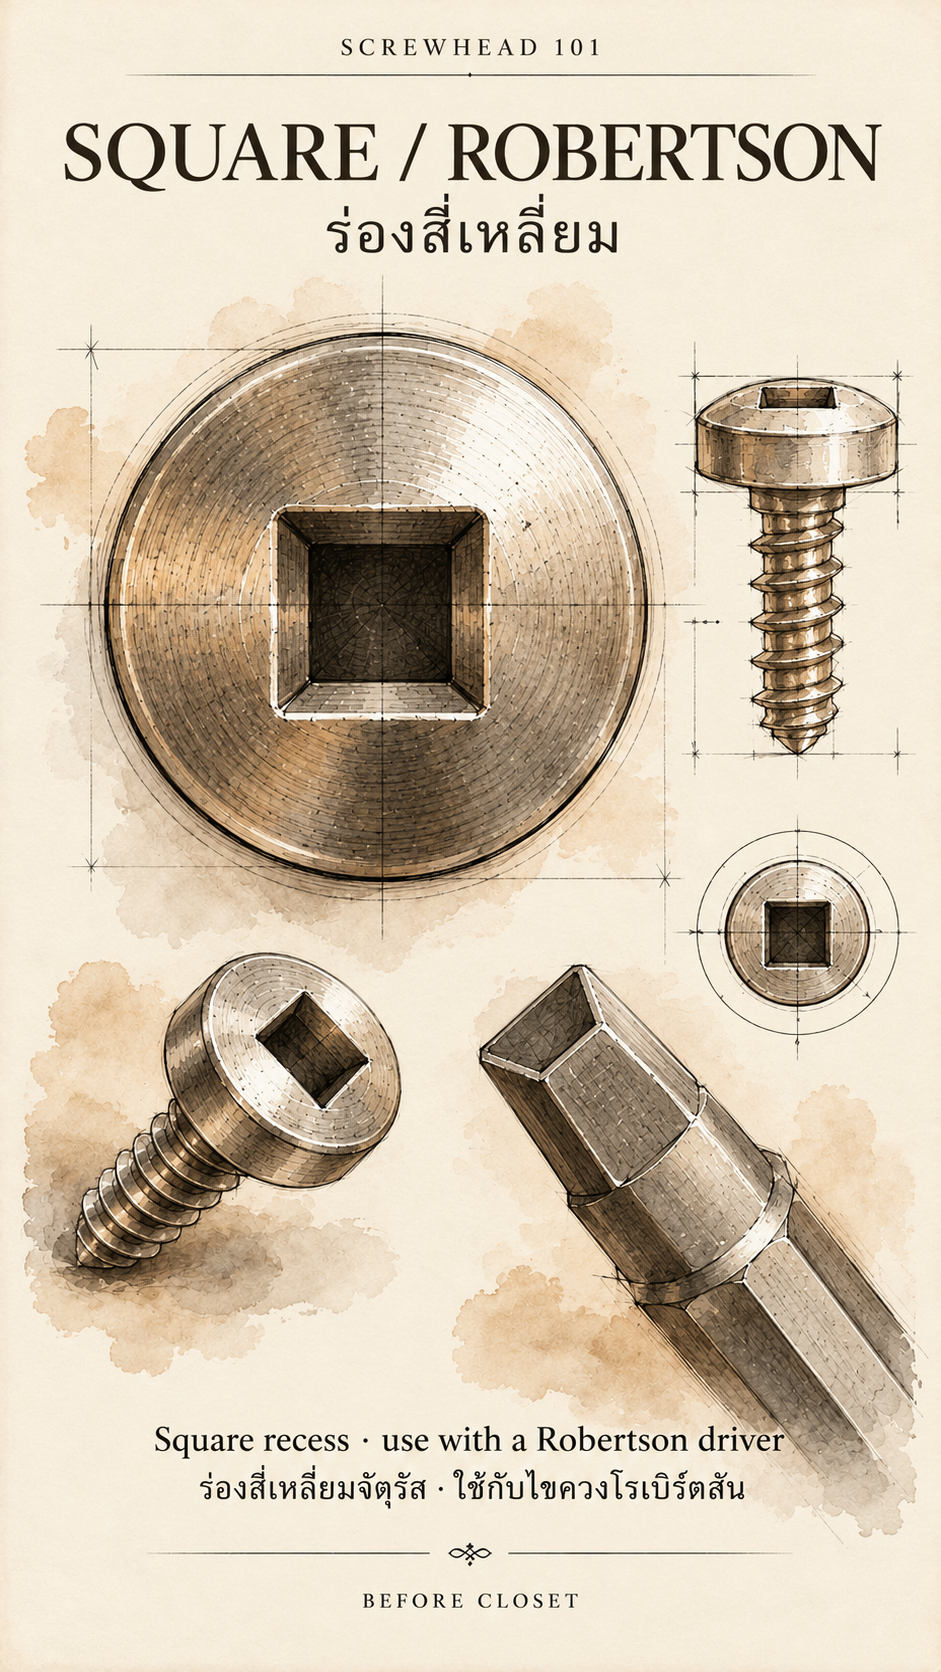
Square / Robertson — four clear sides
A square recess receives a matching square-drive bit. Its straightforward geometry is easy to identify; selecting the correct driver size remains essential.
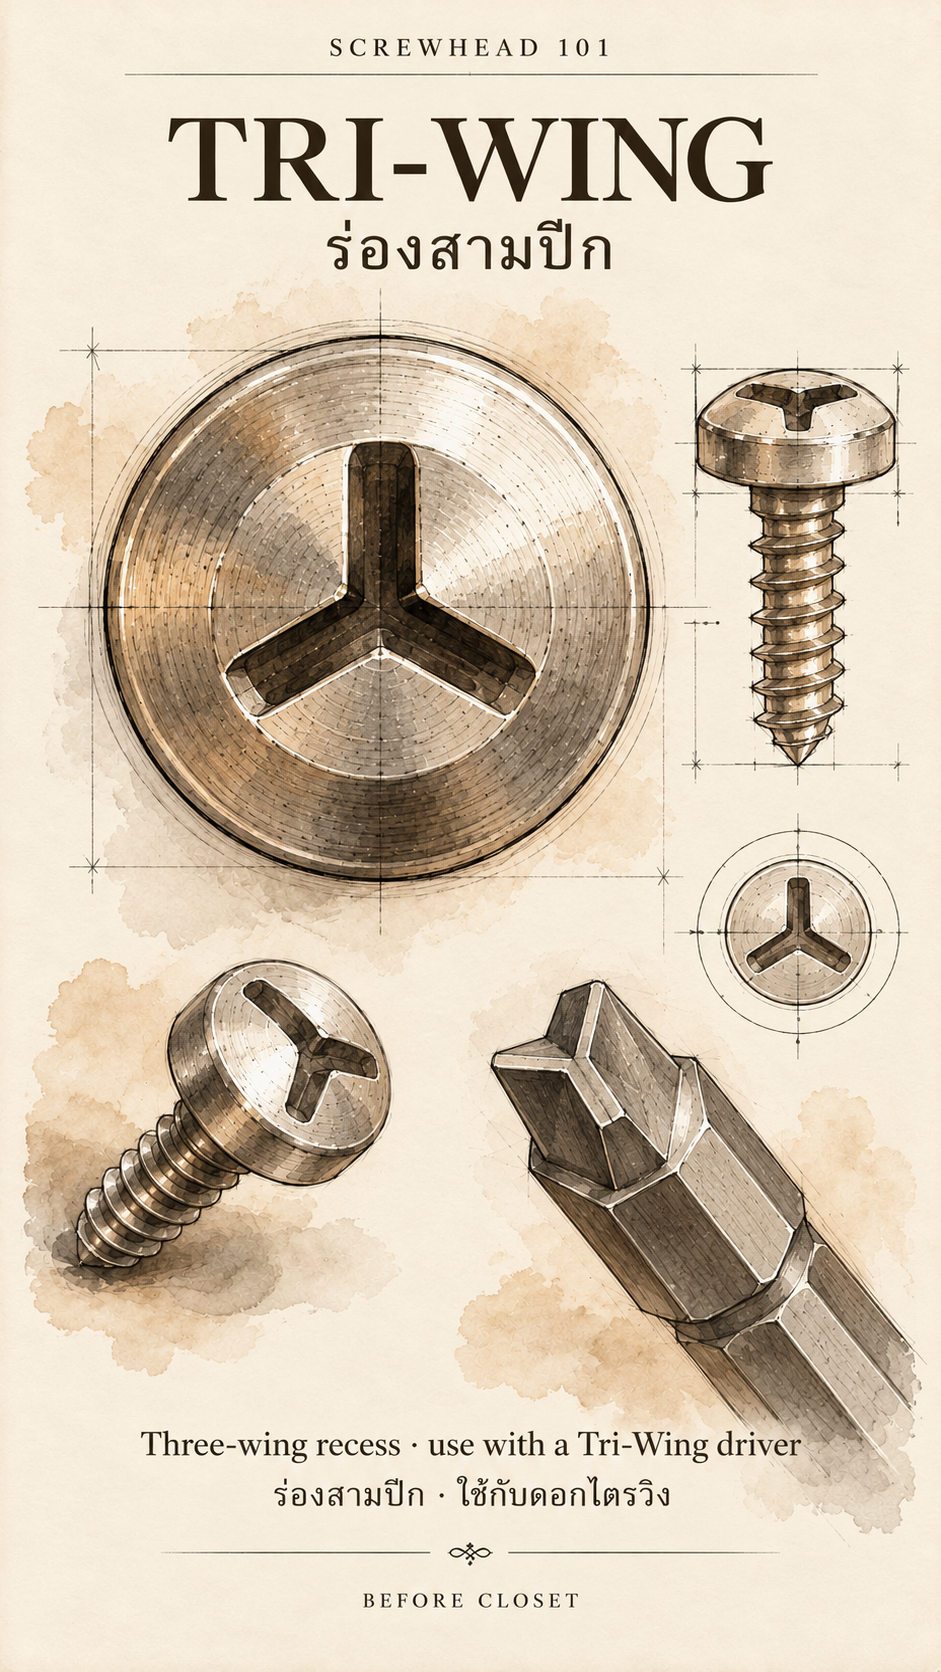
Tri-Wing — three offset wings
This specialist profile has three offset slots arranged like a small propeller. It needs a dedicated Tri-Wing driver and should be distinguished from the centred Y of Tri-Point.
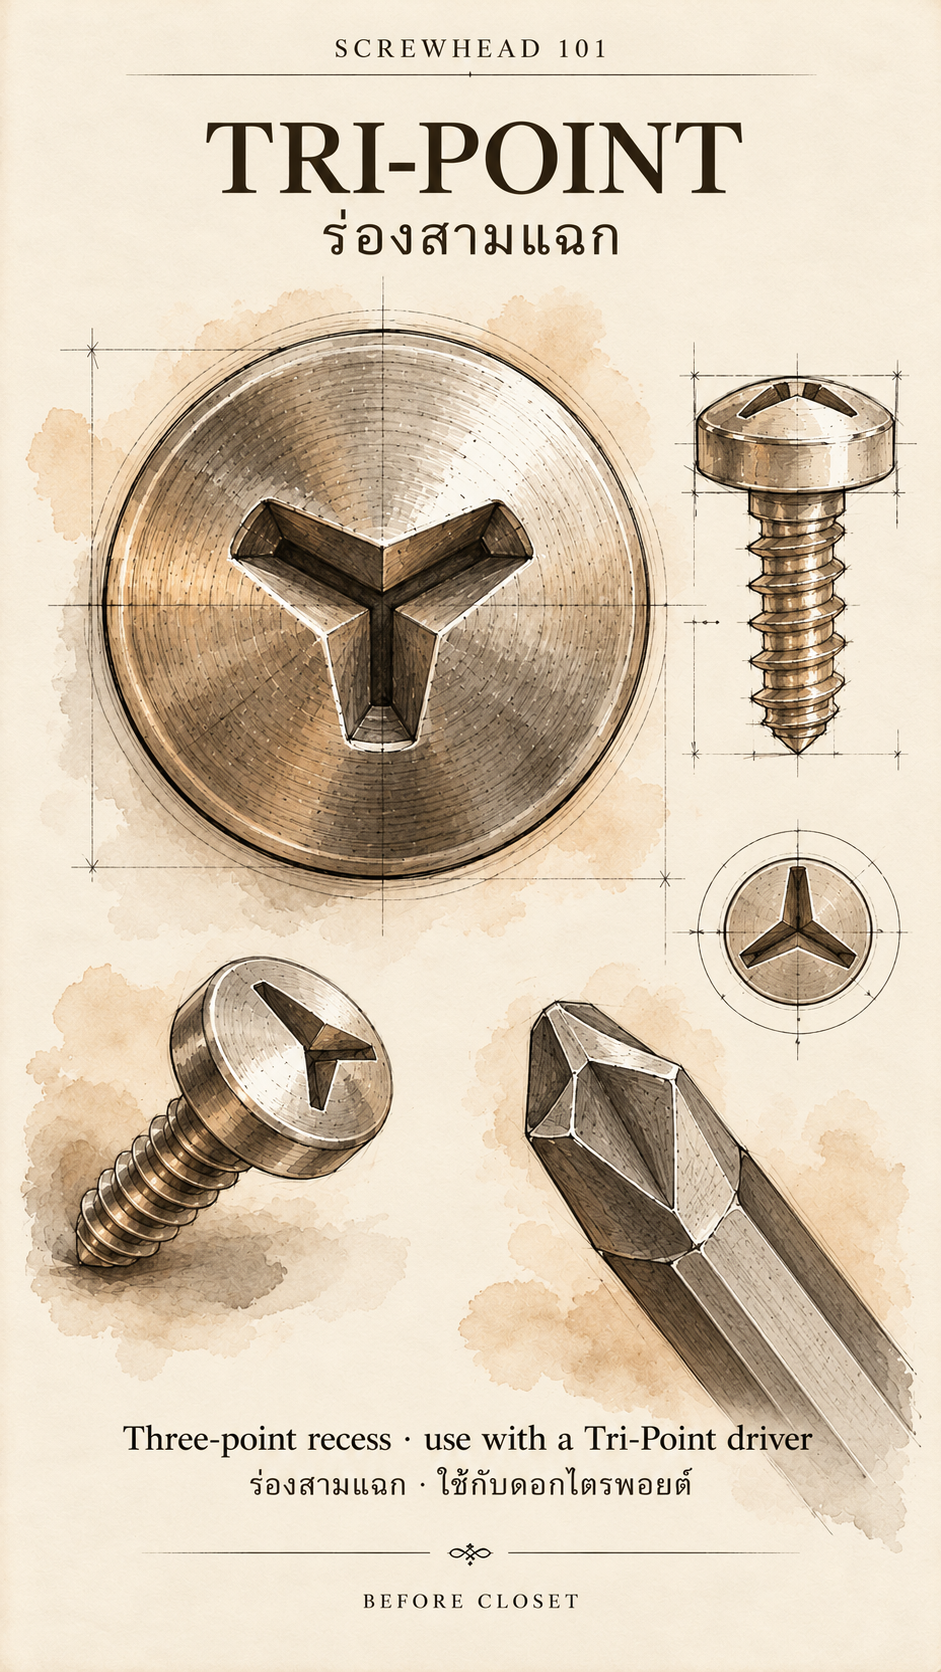
Tri-Point — a centred Y
Three arms meet at the centre to form a Y-shaped recess. Use the corresponding Tri-Point driver; Tri-Wing and Tri-Point are different profiles despite their similar names.
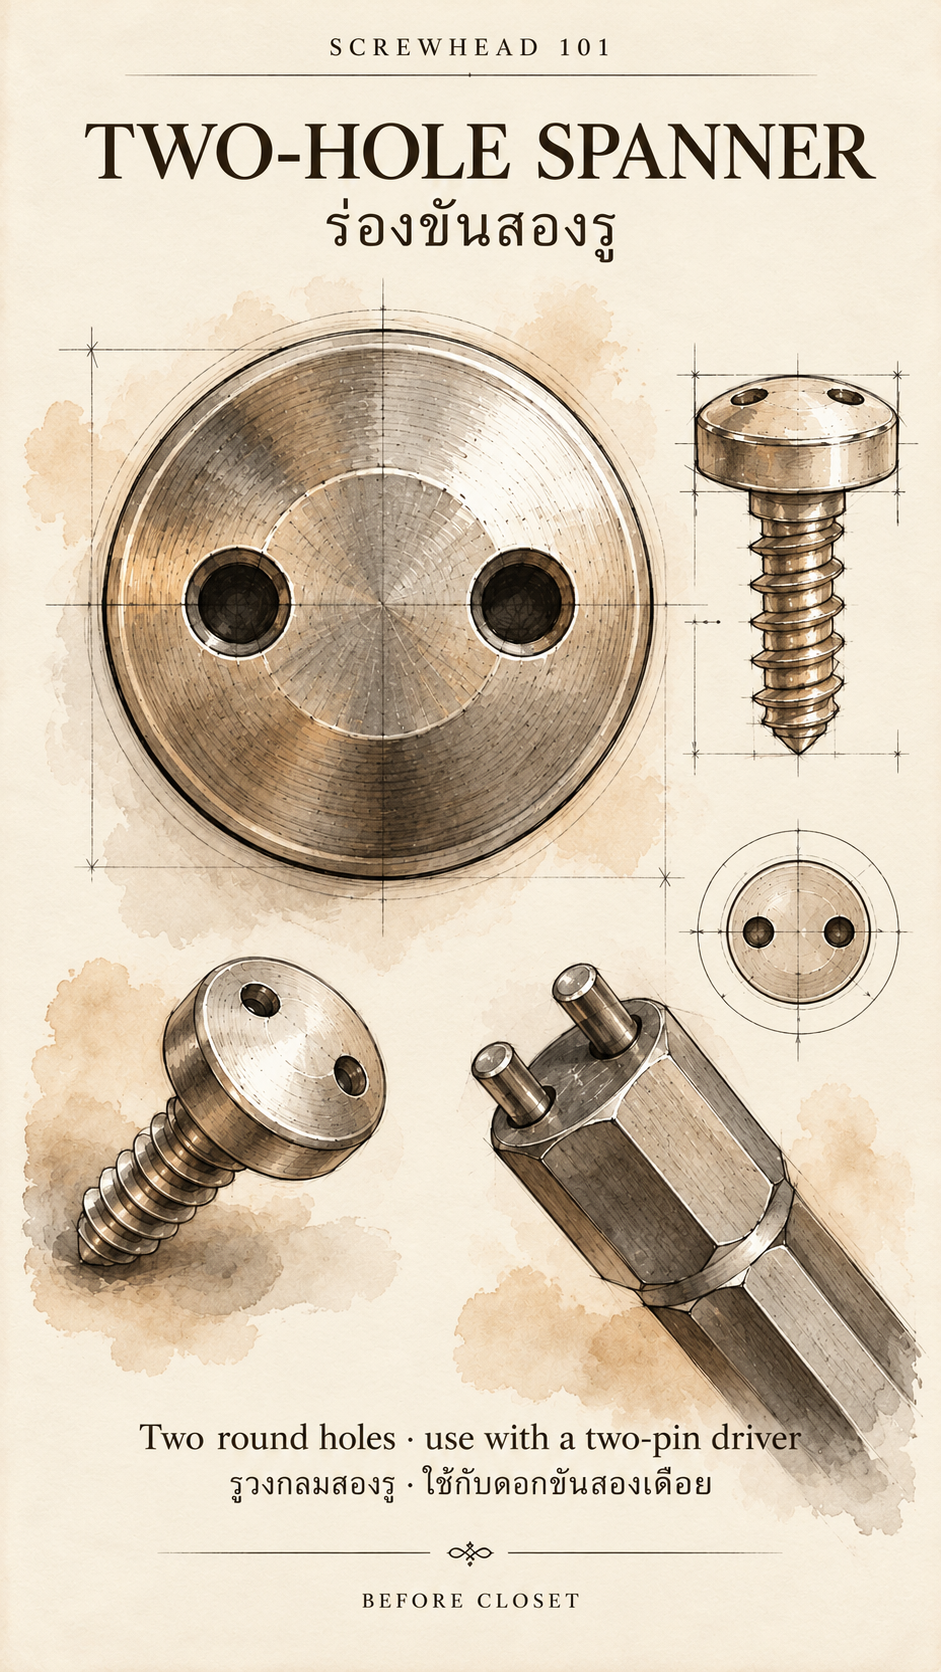
Two-Hole Spanner — a pair of round holes
Two holes receive the pins of a matching two-pin driver. Both pin diameter and spacing need to suit the screw.
The finish begins with the fit
Before tightening, take a moment to identify the drive and check the tool size. The tip should seat securely. If it rocks, slips, or refuses to settle into the recess, check the match before applying more force.
That brief pause helps protect the screw, the tool, and the surface around them. The drive is only one part of specifying a fixing; screw material, dimensions, and suitability for the installation also matter.
At Before Closet, we see hardware as part of the design at every scale—from the handle that meets your hand to the fixing that holds it in place.
The next time you open a cabinet or notice an exposed hinge, look a little closer. There is a small vocabulary of shapes there, each with a tool made to fit.
